
I started planning some shelves for my office closet a little less than a month ago. It’s a fairly large closet and none of the electronics are real heat-hogs so I’m not too worried about ventilation. I mostly wanted a place to hide the printer (and router, and external hard drives) along with a work-surface to either throw down a laptop or work with printouts / copies when I need to be doing that type of stuff.

Final SketchUp Design
Major differences between the inital design and my final were changing the left-most mounts to be a cleat instead of legs and changing from universal 3” posts to “ell” constructed 2x4’s + 2x2’s. It turns out that 3” posts are only carried in my imagination and that posts sold at Home Depot are 4”, which felt entirely too bulky for what I was doing.
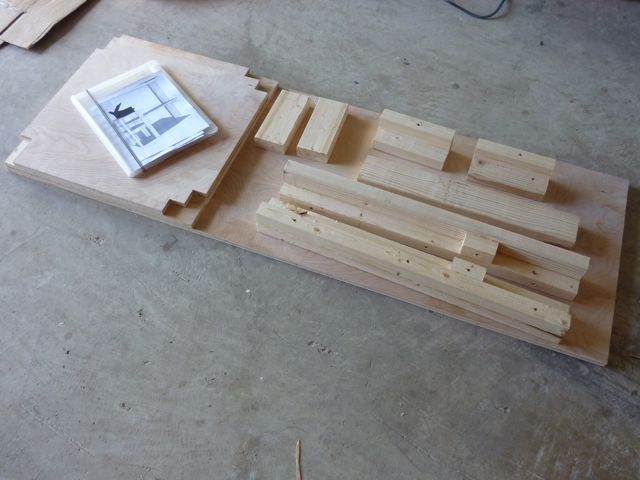
Cut Pieces
Before going to Home Depot for the wood, I planned and wrote out my parts list based on the sketchup design and a final set of “accurate” measurements. This was really helpful when I needed to figure out how many linear feet of 2x4’s I was going to need and what size board I needed to buy.
I ended up splurging a bit on the top plywood and got one with the smooth birch veneer because I knew I might be using it as a light-duty desk surface. It was only a few dollars more but has a nice smooth feel to it although you have to be careful about shredding the veneer when cutting.
I did all cuts with a basic circular saw and a hand-saw for detail/final removal (ie: when cutting out the “ell” sections from the bottom shelf). I can’t overemphasize the helpfulness of clamps and long, straight levels.
I don’t have a table-saw, so to make the longest cut I snapped a chalk line (straight), used two levels and some scrap wood along with some bracing to keep all my straight edges “in line” while running the circular saw down the board. Originally I had planned on using the 2x4’s but they were nowhere near straight over a 5-6’ run.
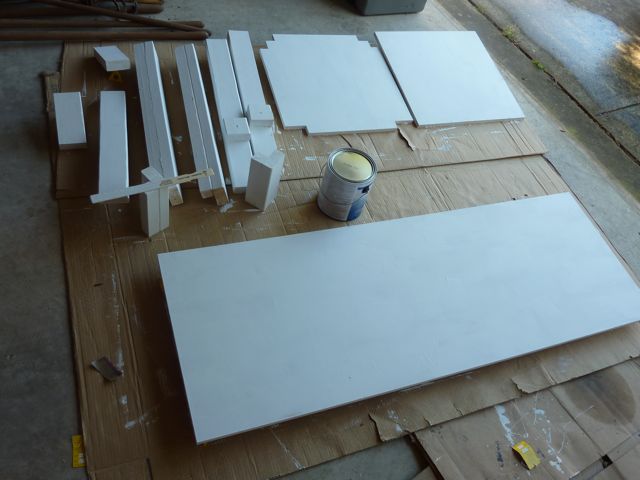
Primed
After all the piece-assembly I was left with your basic ikea-style furniture pack. I ended up priming everything twice, then another two coats of white latex glossy (standard “trim” paint) and it came out acceptable. It would have been nicer to keep the dust down as I ended up with some random crap on the large surfaces after the first glossy coat. I sanded some of that down then did the final coat with the garage door closed which helped quite a bit.
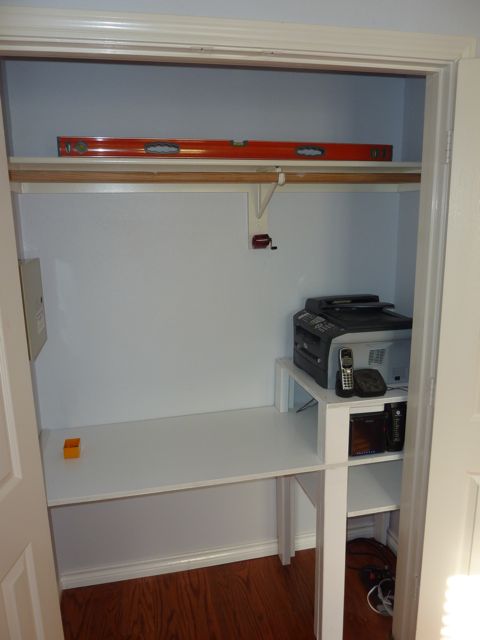
Installed
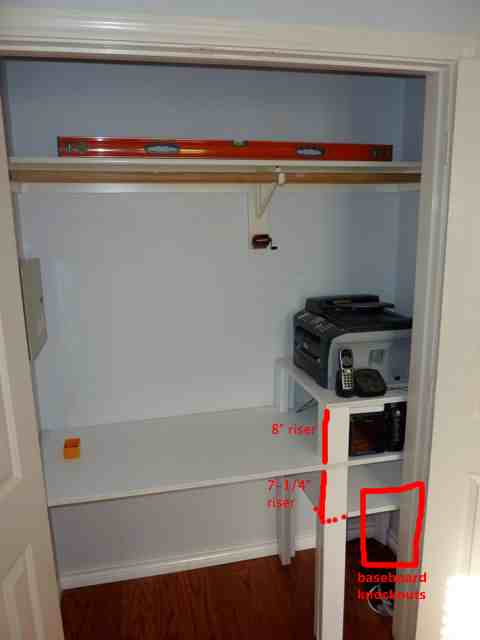
During the dry-fitting I discovered two problems and realized one problem during piece-construction:
- I had measured the closet width “corner to corner” but the sheetrock bowed inwards in the middle. Taking -0.5” off the largest shelf-edge and I was back in business.
- I neglected to take into consideration baseboard incursion. A bunch of weird free-hand cuts down on three of the legs and it fit.
- I had orginally intended for each shelf to be 8” tall but I made a mistake on the bottom shelf, measuring 8” down and not adding in the 3/4” for plywood thickness.
Differences
Installation was pretty straightforward and the shelves as a whole feel nice and solid. I purchased some trim pieces for the front “desk” shelf and for the left-hand side to cover the cleat-screws. Those are yet-to-be installed, mostly waiting until I can prime / paint the trim. It’ll take 5 minutes to paint everything but 30 minutes to clean the brushes, etc. When I have the paint out I also need to paint over some of the exposed screw-holes on the shelf-top.
If you’d like to play with the SketchUp file, have at it. The best advice I have is to do the “three chairs” tutorial, use the tape-measure tool a lot, and paradoxically, sometimes it’s a lot easier to draw things out right the first time than it is to fix or modify an existing drawing.
11:53 CST | category / entries
permanent link | comments?